The Imperial Boarding Party – Week 7 to 13 (Full Scale Assault Post!)

It seems like forever since my last blog post but due to being super busy with a job and this project I didn’t have any time to work on my blog posts on a regular basis like the other weeks (1 post per week on the Sunday) but fear not! This post will cover all of my progress since then so this blog post will inlcude:

  • Texturing of the Stormtrooper
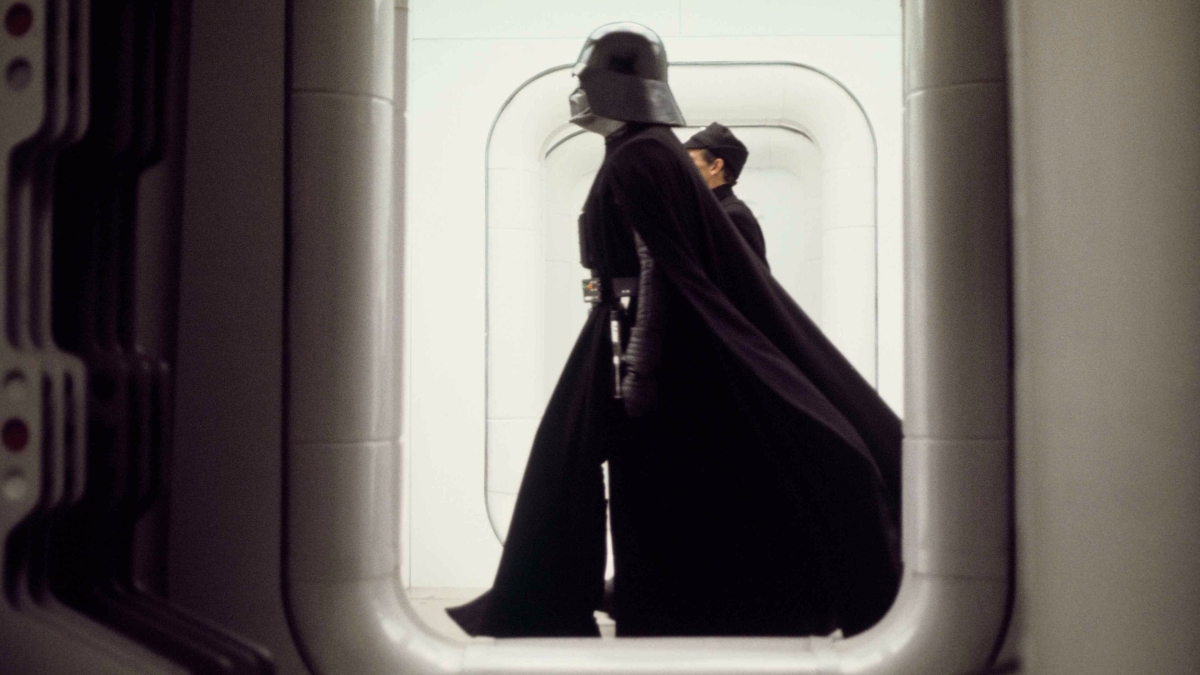
  • Holding off progress on Vader
  • Creating a Brochure Image for ExpoTees
  • Catching up with Vader
  • Modelling Vader
  • Texturing Vader
  • Creating the environment
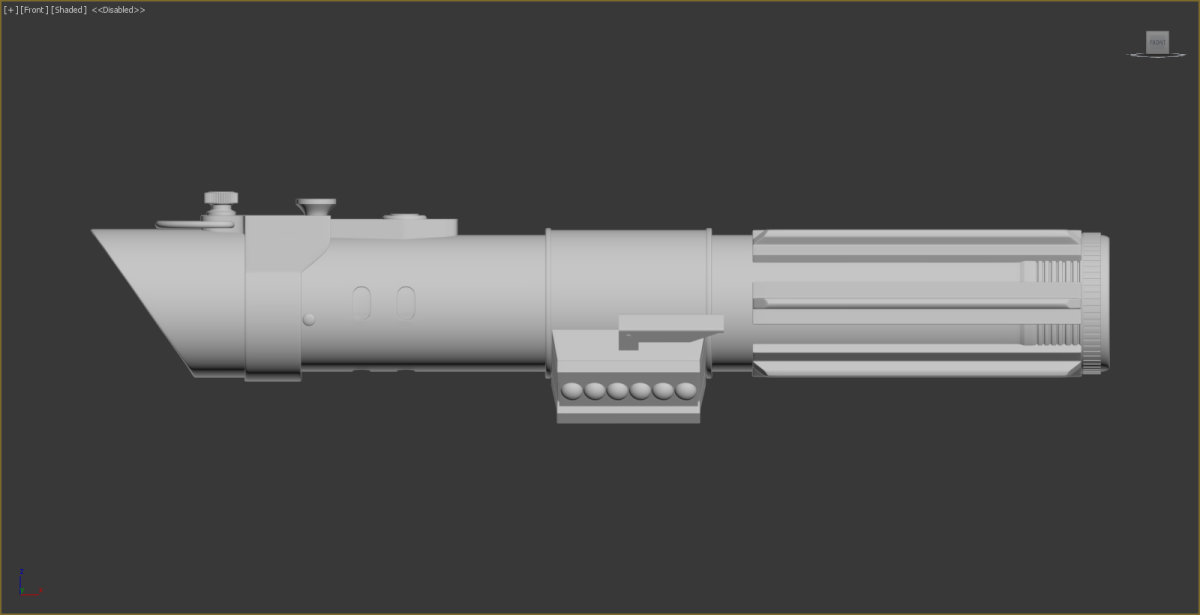
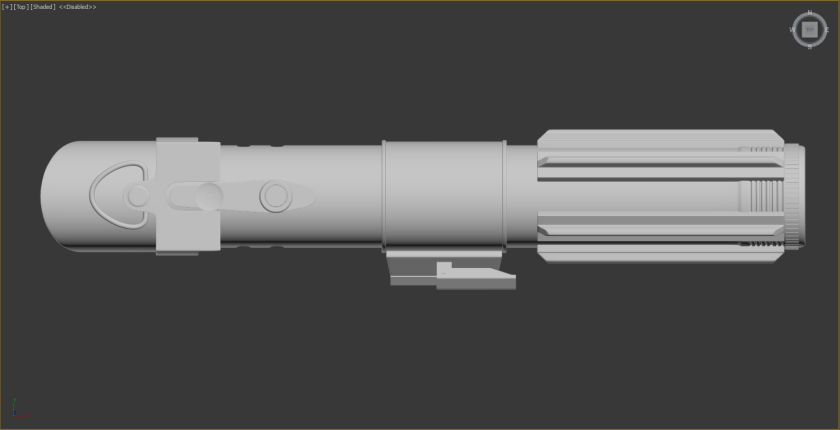
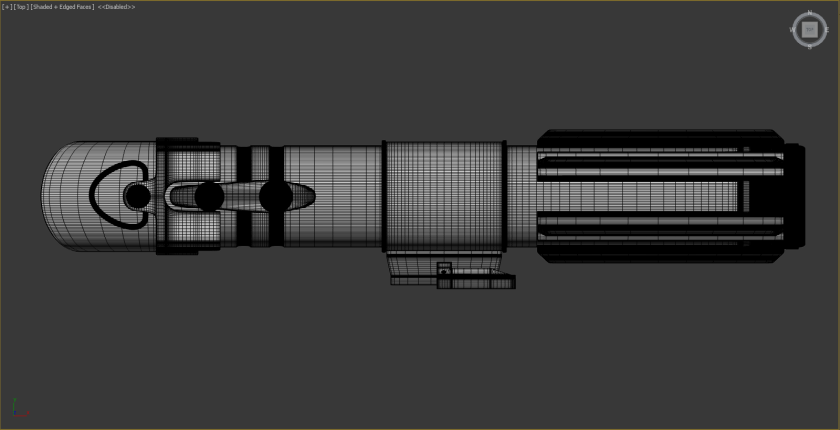
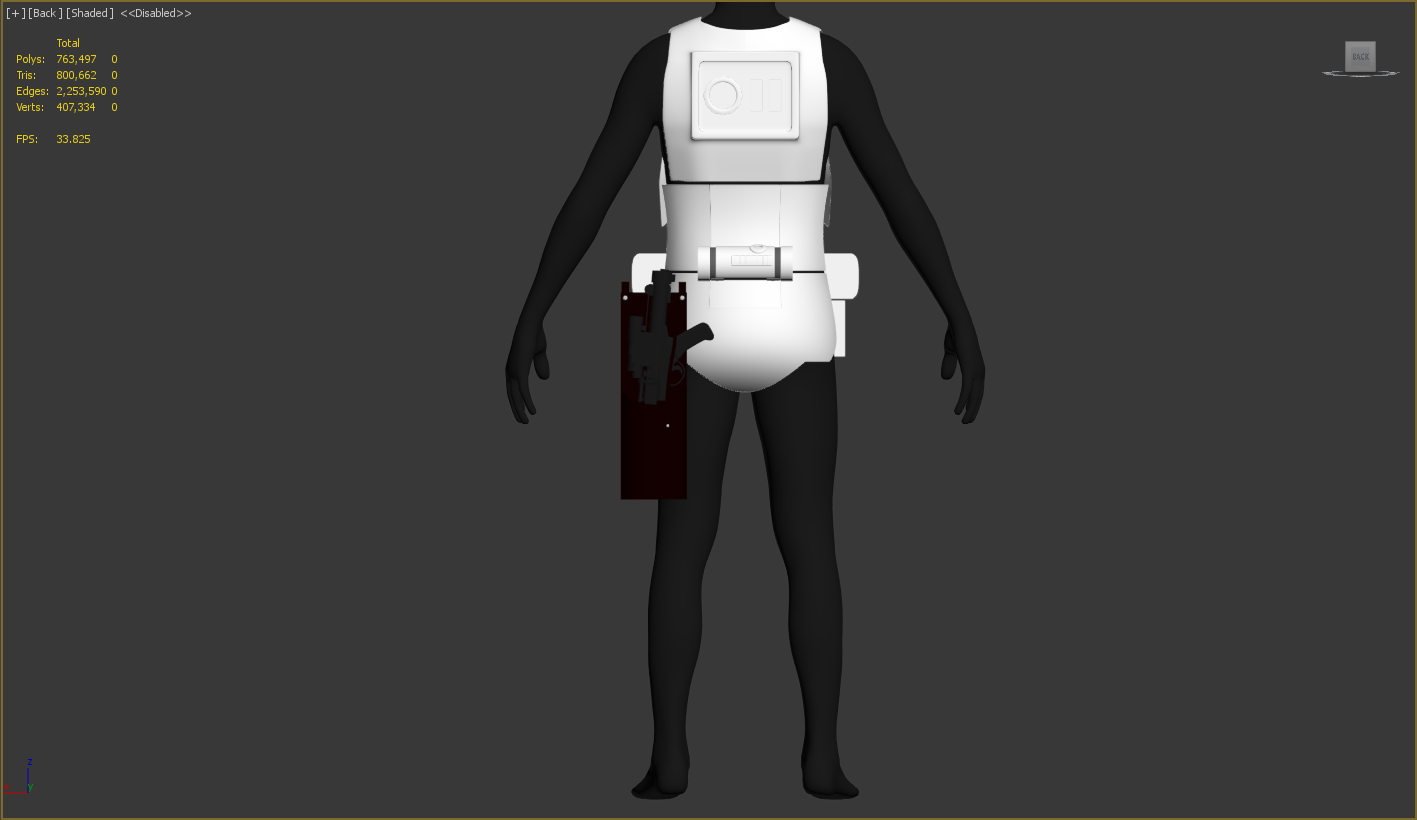
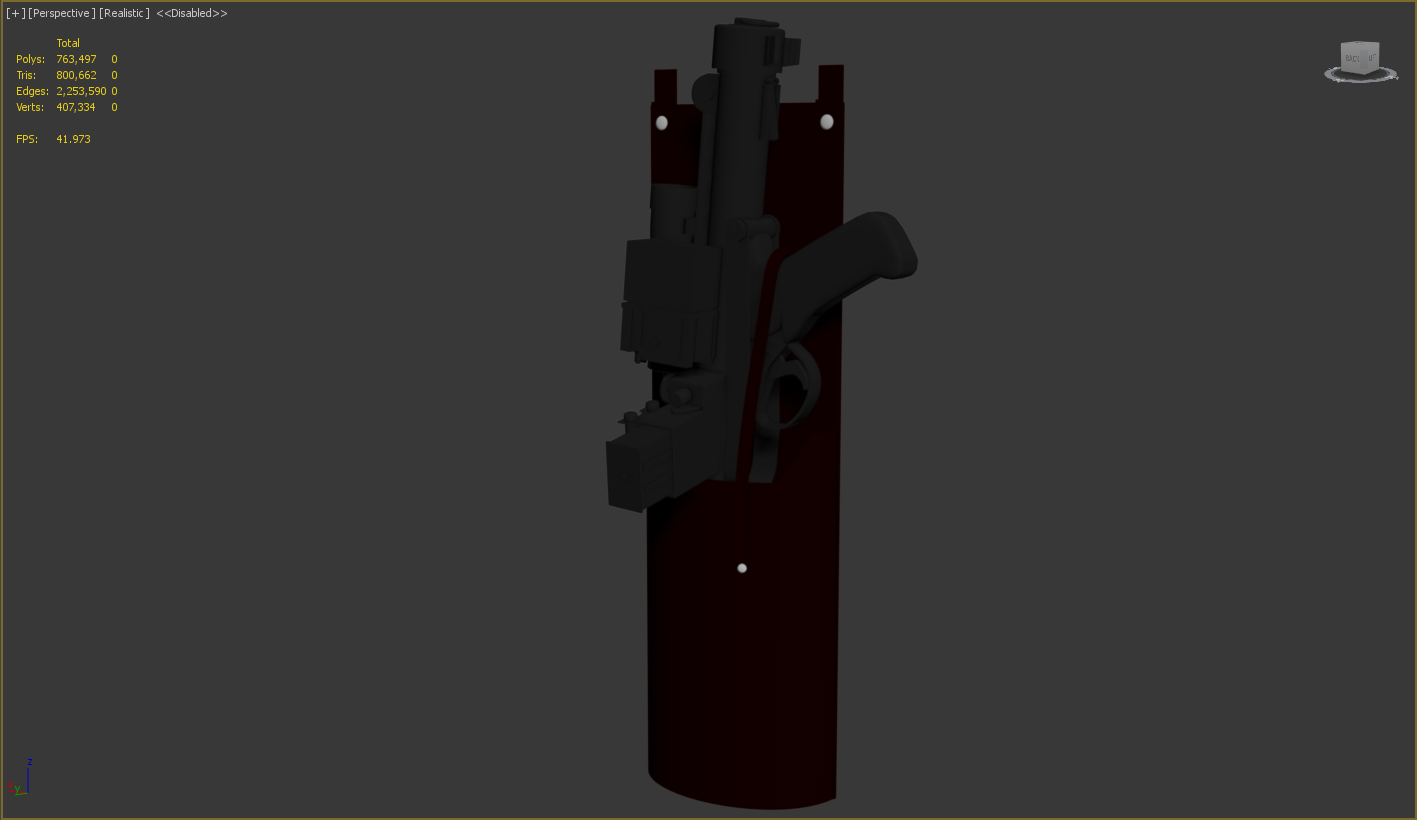
  • Texturing the Stromtrooper’s and Vader’s Props
  • Problems encountered with texturing in Quixel and errors in Unreal
  • Fixes for said issues
  • The final product for the hand in!
  • Creating my ExpoTees poster
  • Future changes for ExpoTees

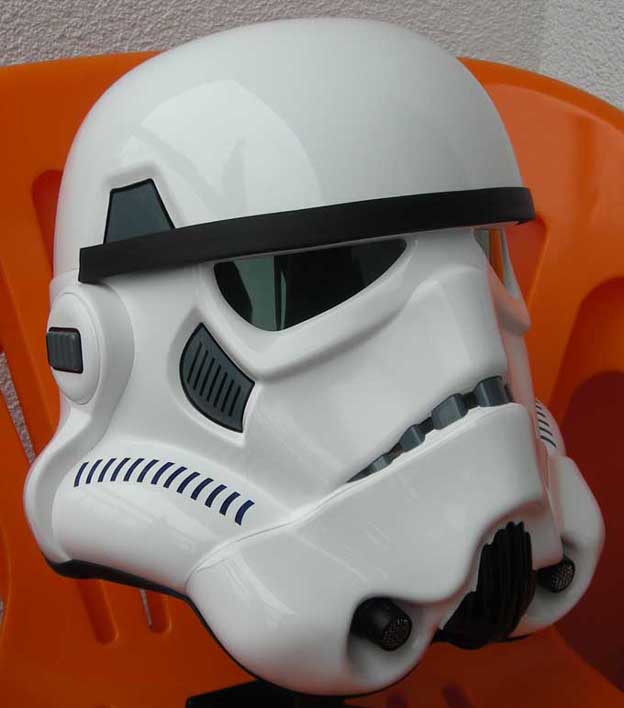
The Stromtrooper & Brochure Image

Like I mentioned in my last blog post I had to postpone my work on Vader to focus on getting my Stormtrooper model textured and ready for a brochure image for ExpoTees which was a little bit of a pain because my schedule needing redoing but ExpoTees will be a great experience and should be pretty handy for trying to find some jobs so that little inconvenience will be worth it in the long run.
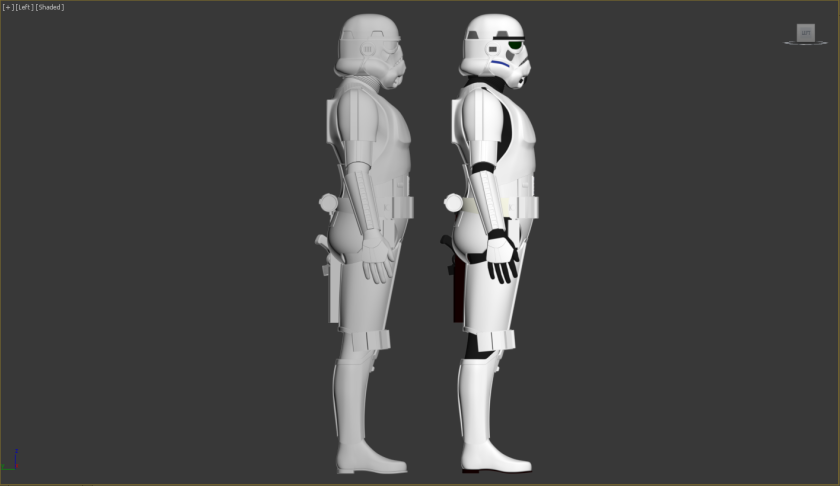
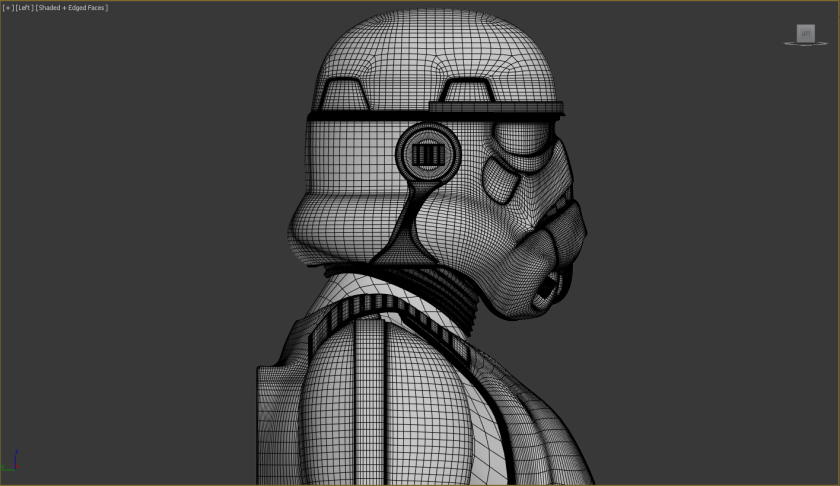
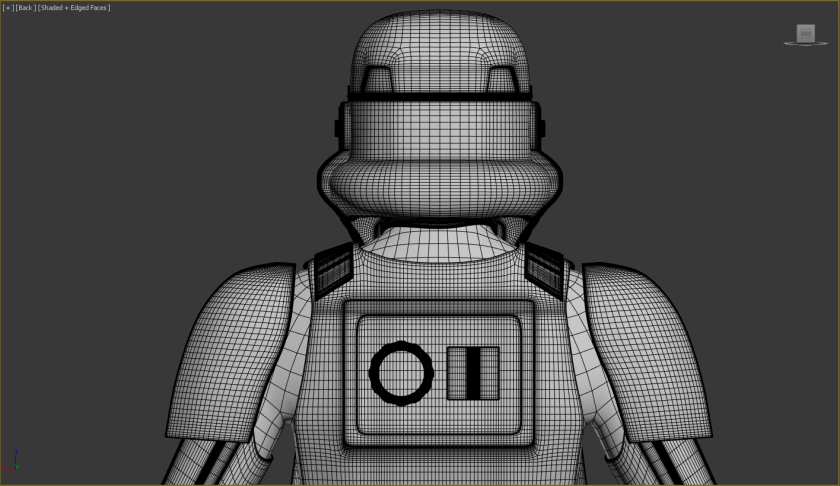
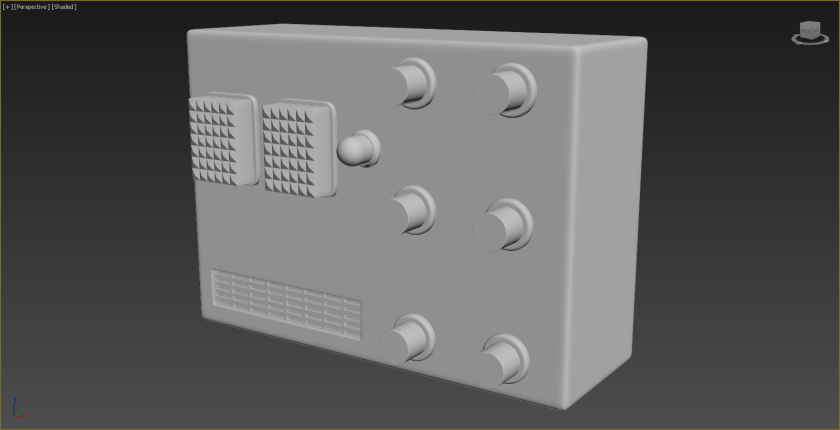
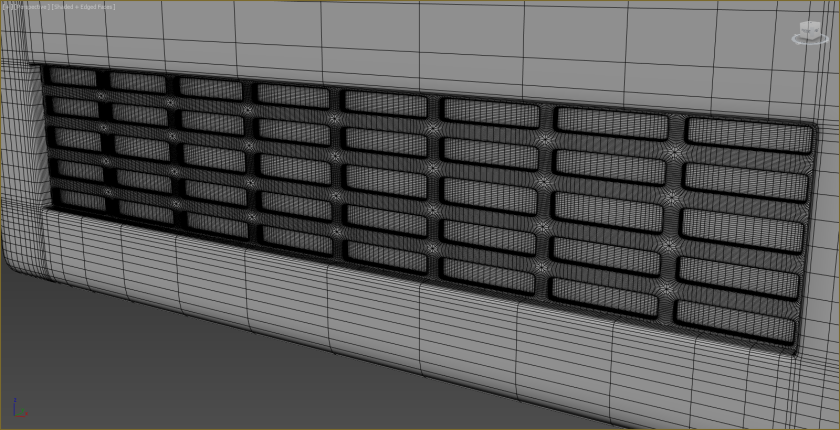
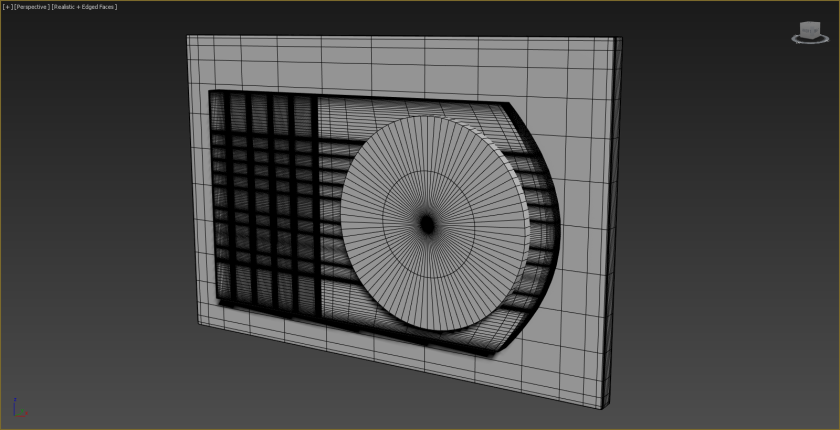
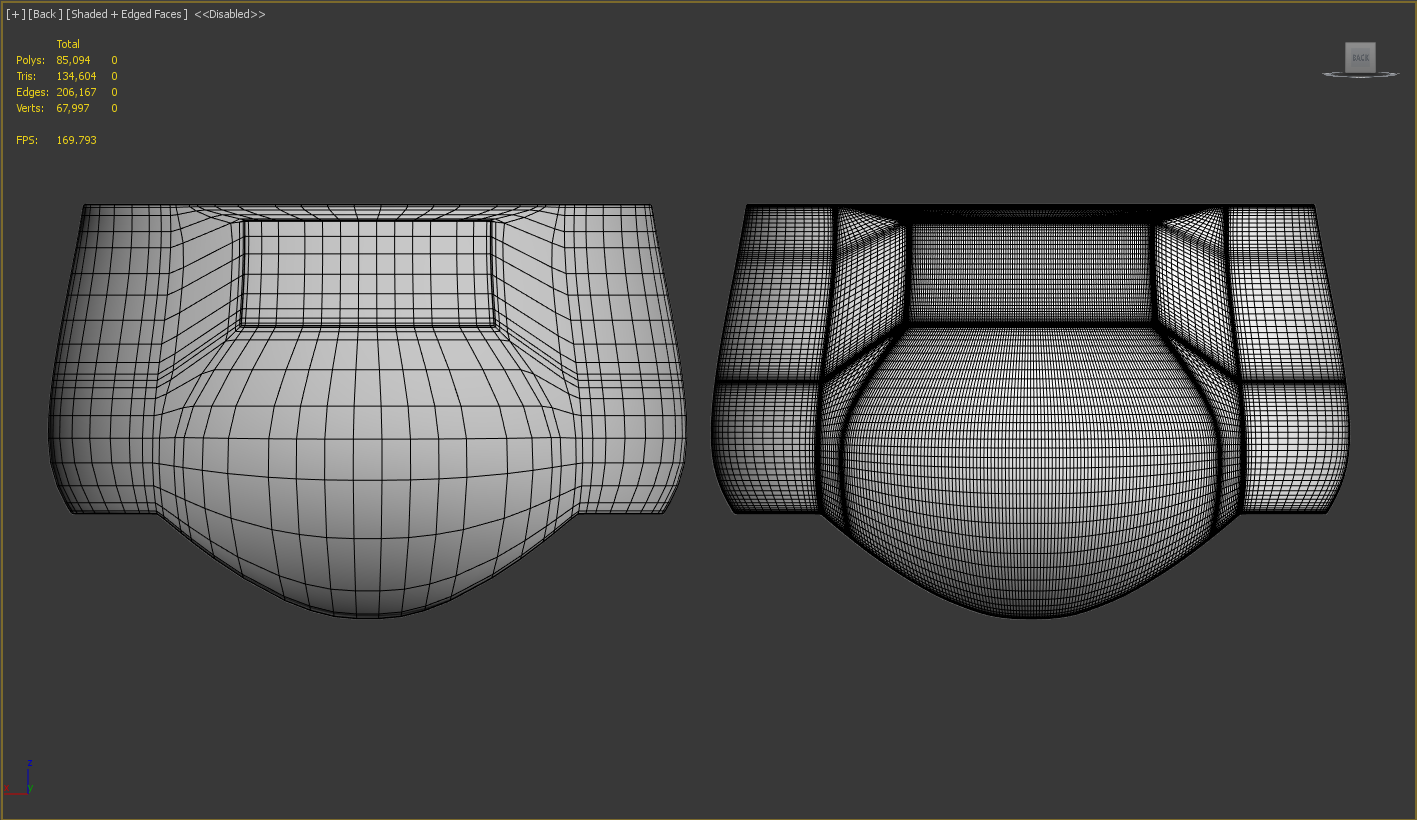
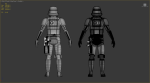
First off I needed to texture the dude so I needed to cut down the polys in the models to get to a more respectable polycount and to also cut down on unwanted and uneeded geometry the TurboSmooth modifier creates in Max.
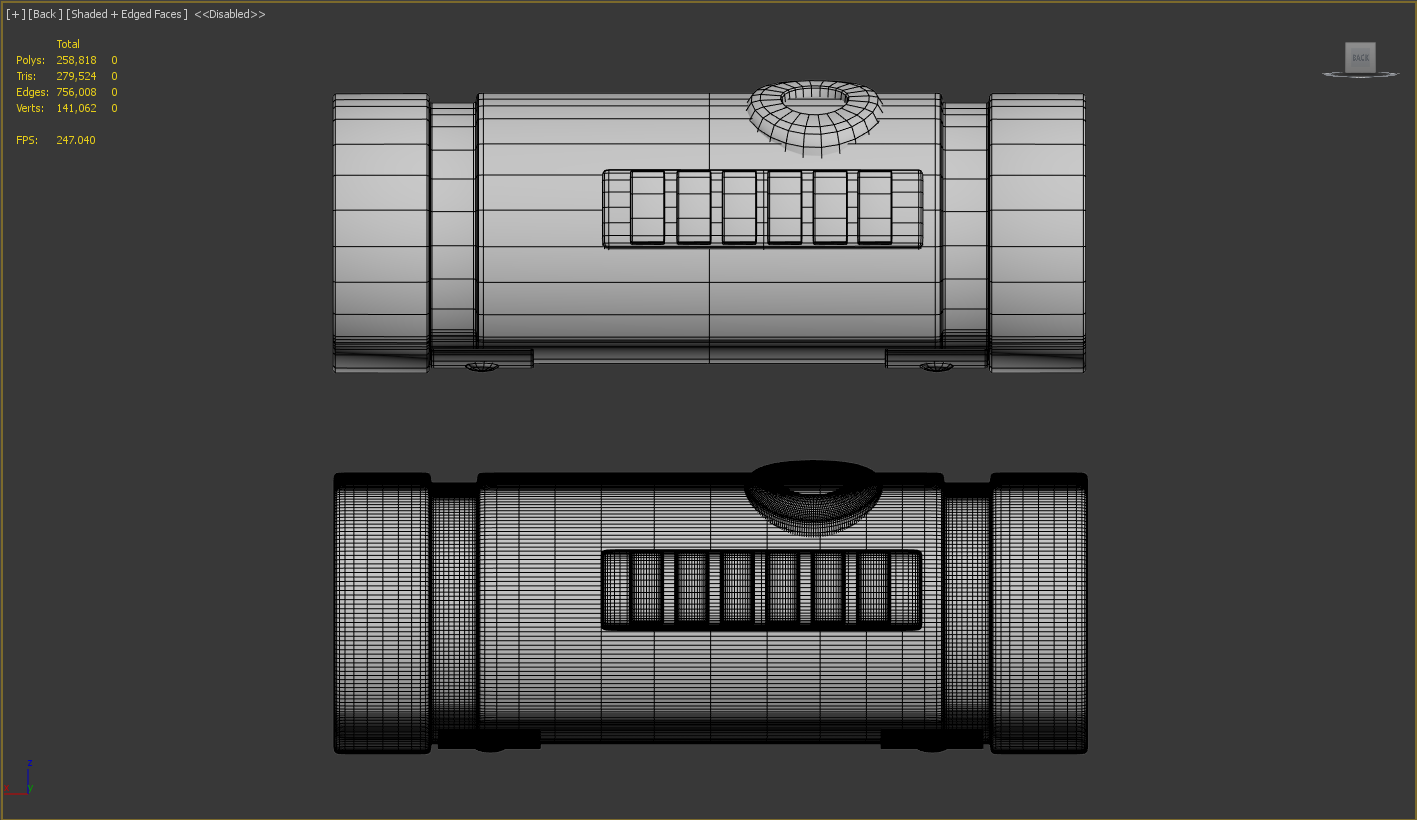
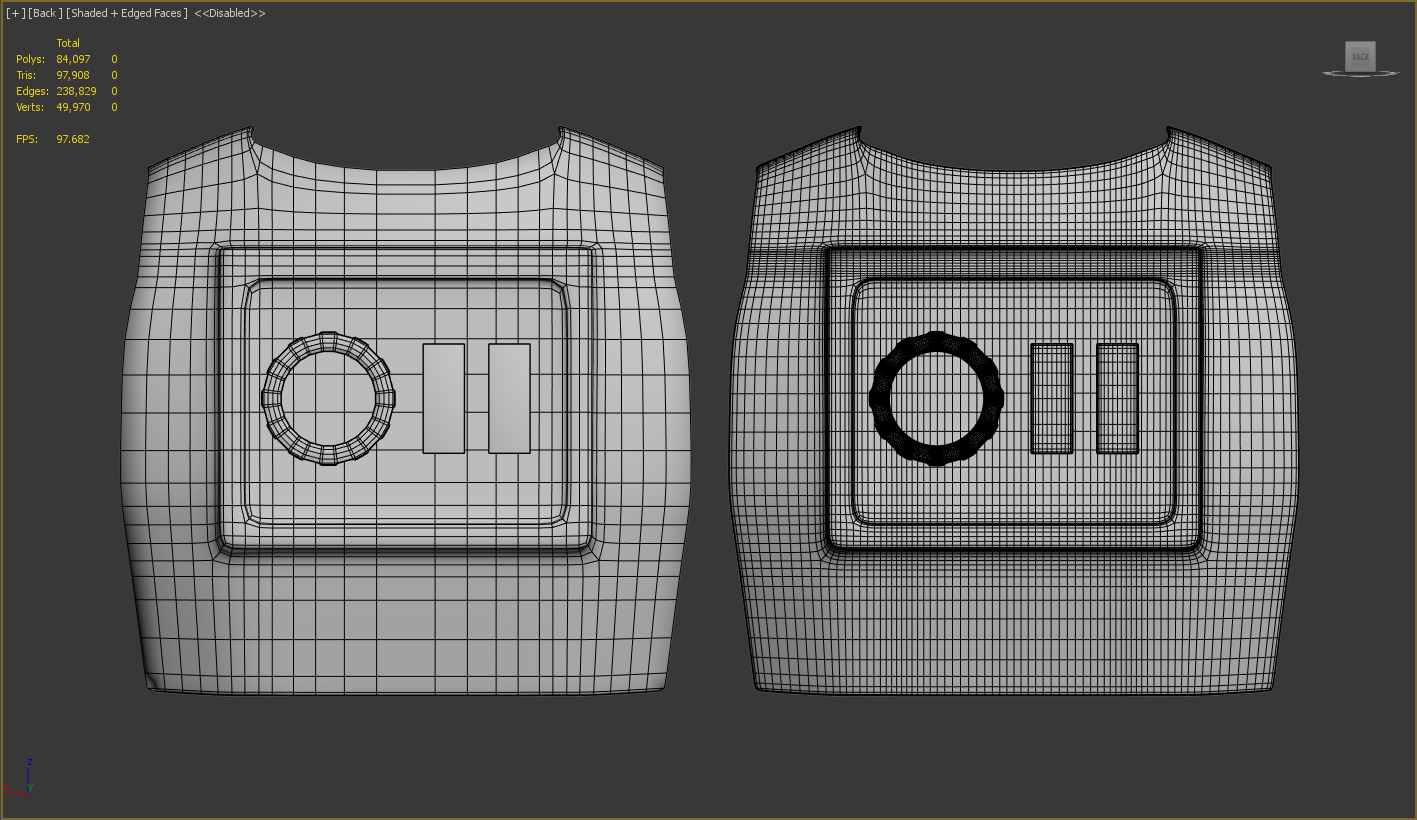
Here’s some screenshots of the poly difference between the high and low models:


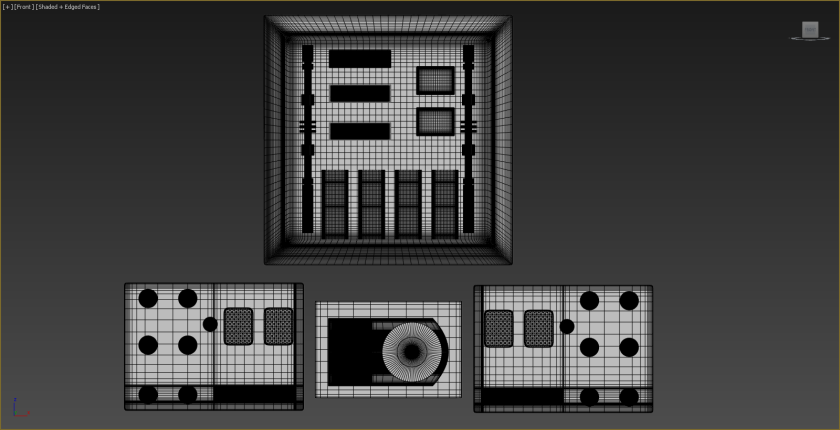
The unwrapping took some time because of all of the pieces that the Stormtrooper is made out of and trying to get it all in the small little UV square took some time too.
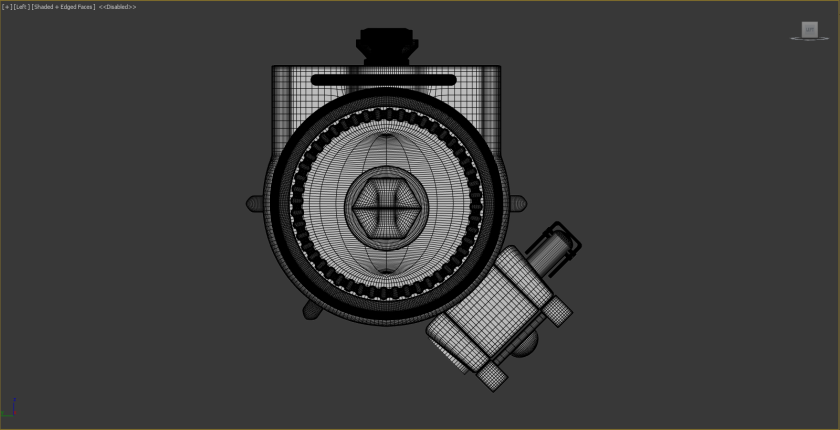
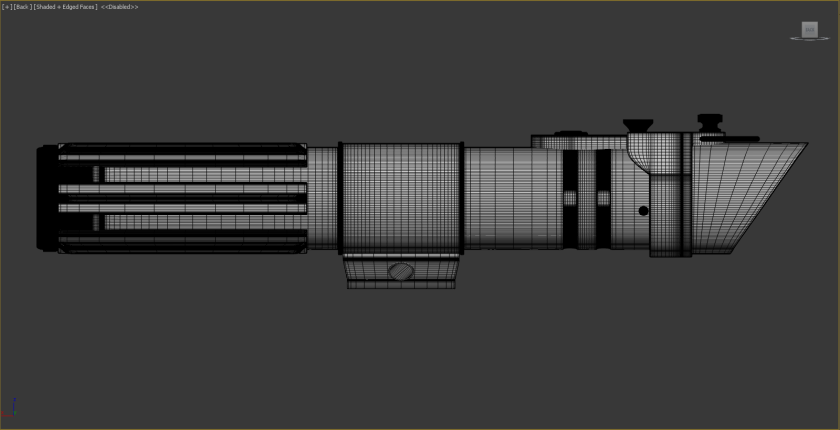
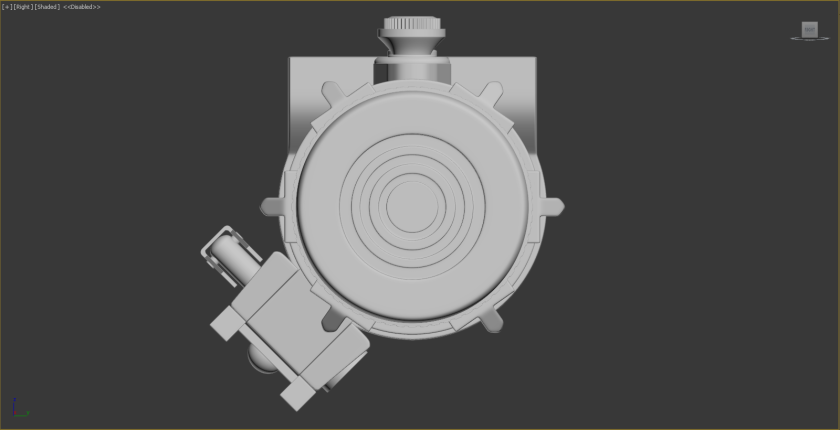
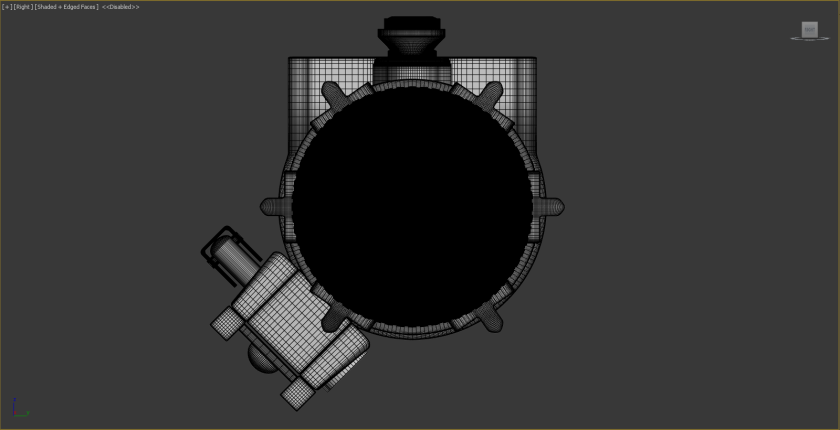
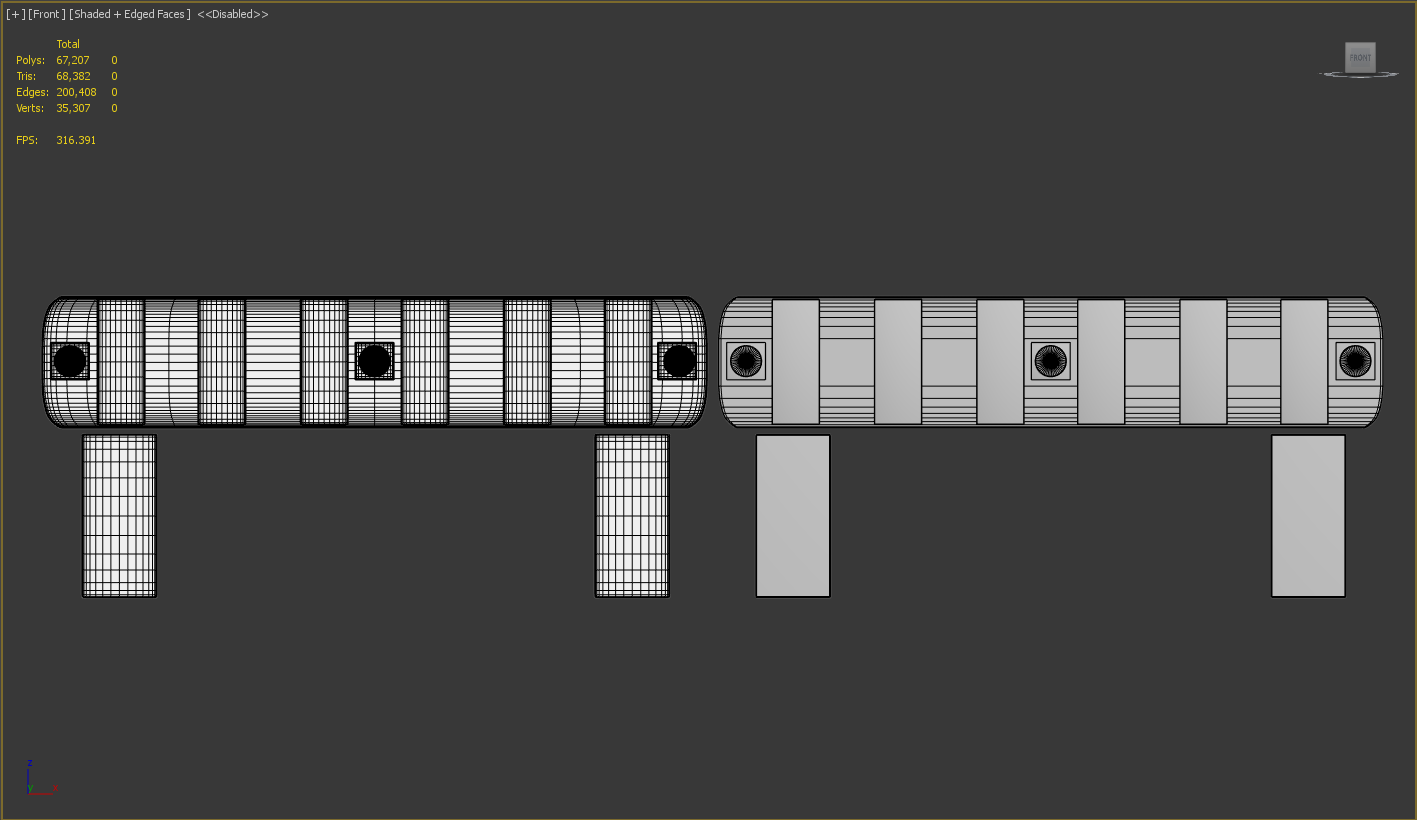
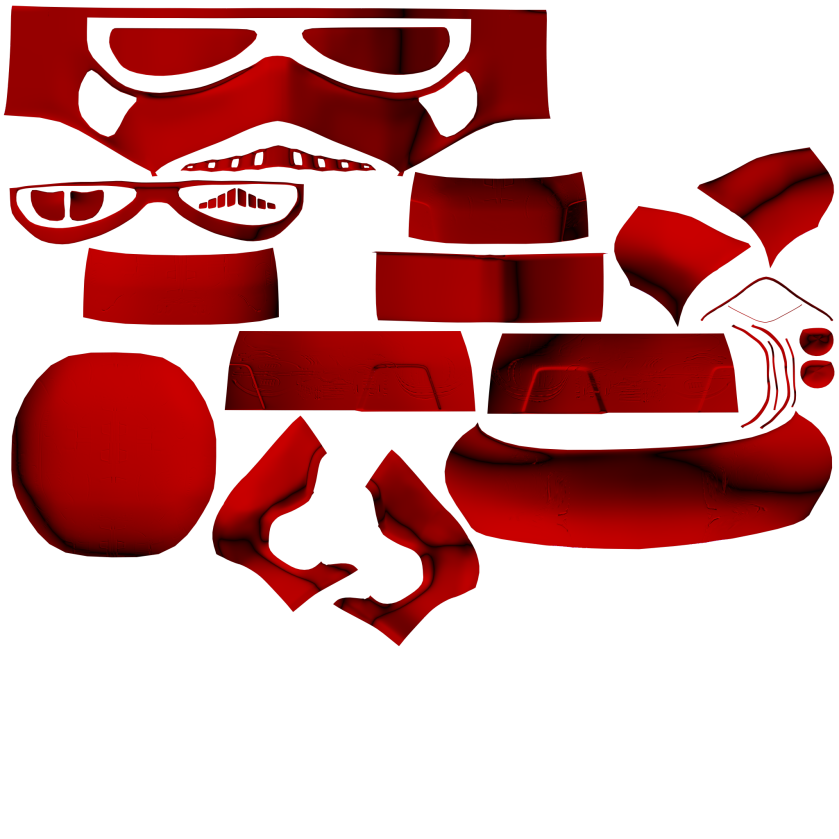
For the first time I created high poly bakes from a high poly model to a low (held it off long enough!), this was quite a lengthy process due to getting the different assets aligned with one another, creating the cages and…. encountering problems along the way -__-

TKBlowout.png

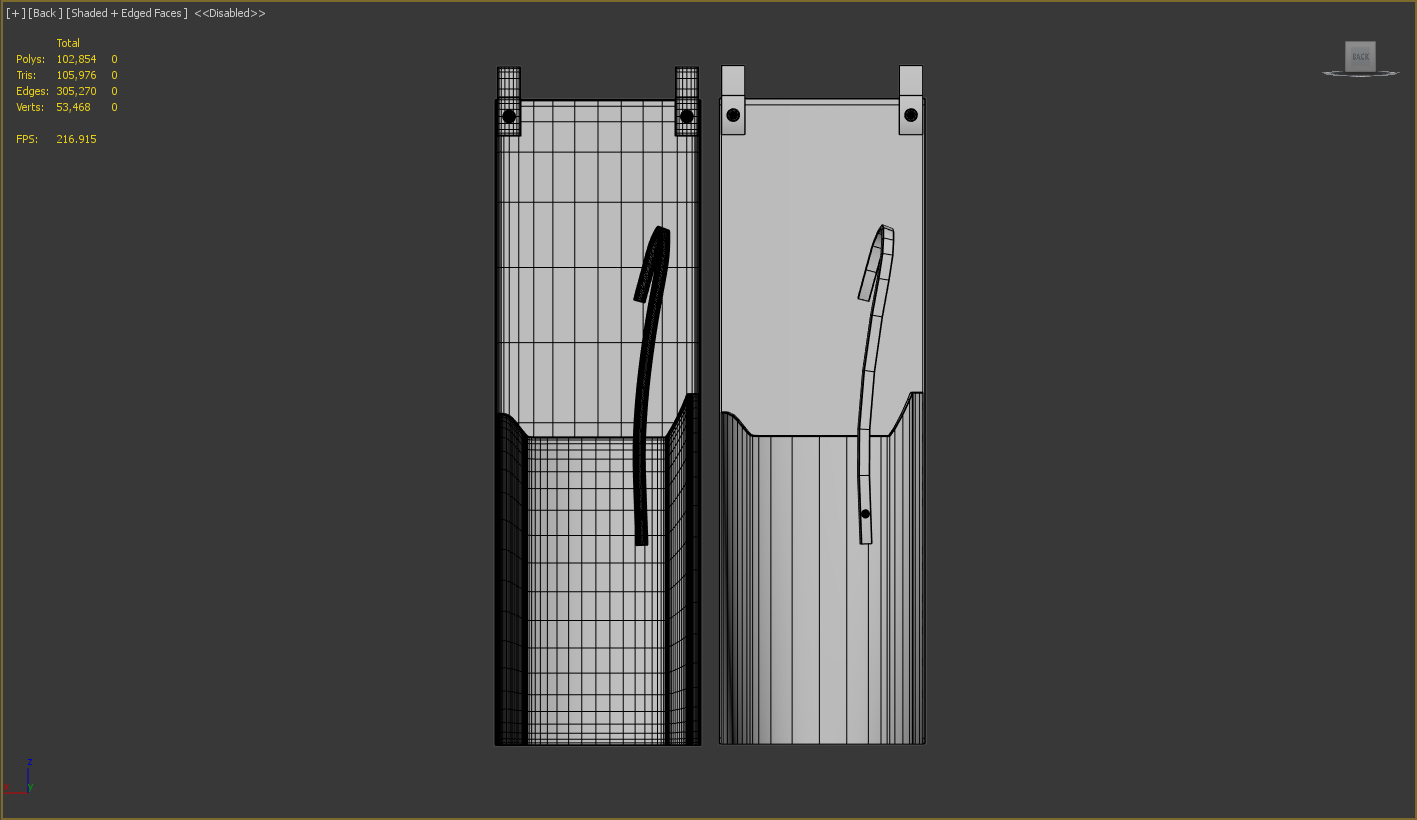
Here’s a shot of the blowout I needed to do for the highpoly bakes for the Trooper, look at all of those pieces!

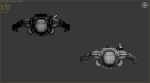
The errors were completed related to Max and by the looks of things were related to the history of the meshes I created so when creating the bakes they weird artefacts were appearing on the helmet UVs of the Stormtrooper.
Here’s an example of the errors.
helmtest.png
Exporting both the high and low models into a new Max scene fixed these issues so when it came to doing bakes for Vader I knew how to avoid those issues from happening again.

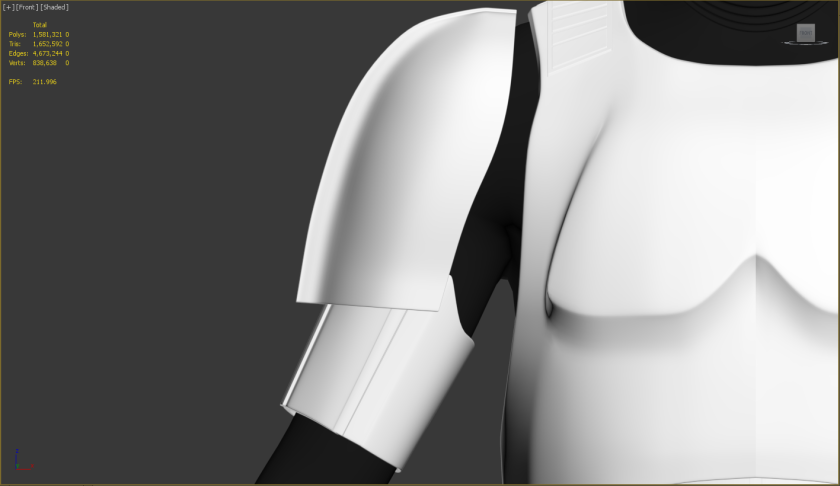
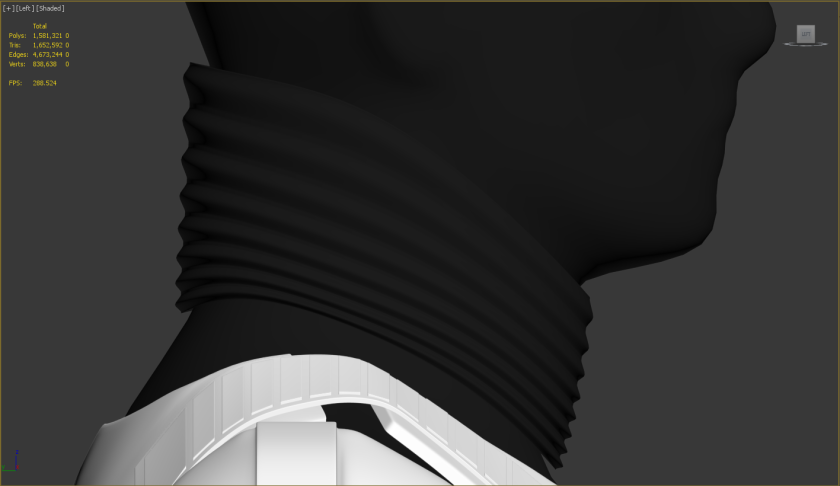
For texturing I jumped into Quixel Suite and textured the Stormy in there, Quixel is nice and easy to use and is great for following the pipeline in Unreal and other engines (CryEngine, Unity) and renderers (e.g Marmoset, 3DO).
When the UVs were done I went and created some colour IDs on the UV to make the texturing process in Quixel a load quicker and once that was complete I could crack on with the texturing!

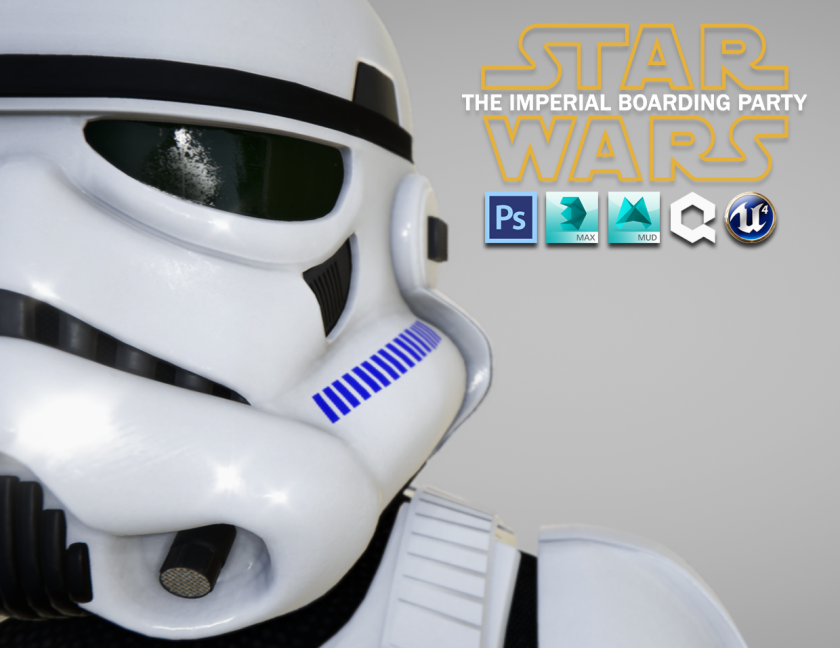
It took a few attempts to get the roughness right for materials (especially when taking Unreal into account due to the lighting models in Quixel’s 3DO being a lot different to the engine’s), once I was happy with the results I crack one taking some renders to try and get something I liked for the brochure (and to hide the T-pose the model was still in)
Here’s a few of those renders!


After picking my favourite render I took it into Photoshop and added some logos and graphics to it trying to keep the visual style as clean as possible. Here’s the final result.

P4111309_JustinGrace-Brochure.png

I’ll end this blog post here and will continue my write up in a new post just so this one doesn’t get too long, see you there!


The Imperial Boarding Party – Week 6 (Creating Darth Vader – Week 2)

“…Most displeased with your apparent lack of progress”
Darth Vader – Return of the Jedi

I’ll quickly start off by saying that this week has been a bit of a slow one sadly because this week I was pretty busy and unfortunately didn’t have a lot of time to work on this project which is a bit of a bummer. This weekend I’ve had two long shifts at work leaving me no time during the day to get cracking on with this but I won’t let a slow week get in the way and throw me off!

This week however I’ve been working on sculpting Darth Vader’s undersuit that will require a little more time to add more detail and get right. It’s been a bit of a slow process and I’ve been going back and forth a lot with this to try and get the best results. Initially I tried sculpting and trying to relearn Mudbox along the way… it didn’t seem right then I tried modelling on top of the Mudbox human model in 3DS Max and that wasn’t really working either for me so I bit a bullet and continued sculpting in Mudbox trying to get the best I could and looking at as much reference I could to see the proportions of the suit while trying to make the suit a little bulkier to get a similar Vader feel.

This week on the Tuesday I found out that I’ve been given a spot to exhibit my project at ExpoTees this year in May which I’m pretty happy with but after hearing that both ILM (Industial Light and Magic) and Lucasfilm attending I just hope that my work will hopefully impress them because I don’t want to get burnt by the companies that have made the film franchise I love, that wouldn’t be good.
Due to ExpoTees I have to rearrange my schedule again to fit the extra pieces of work I have to do for the exhibition. I’ll be needing to produce a brochure image by the 29th March and I’d like to have a nice render of a completed asset (probably not skinned and rigged though) to go into the brochure so I think this week coming I’ll work on sorting my Stormtrooper model out so that I can have a nice textured asset to show off in the brochure. So the week I originally set to texturing both Vader and the trooper will be on finishing off modelling Vader and texturing him during that week instead.

I’ll keep my progress posted on here like always of what I get up to and by the next blog I should have finished texturing my TK and have more work done on the Dark Lord.
Sorry for the lack of pictures this week! I’ll be sure to whack some up once I’m happy with the undersuit.

The Imperial Boarding Party – Week 4 & 5 (Building a Stormtrooper and Starting Darth Vader)

This weekend’s blog post is going to be a double whammy of weeks 4 and 5 of my Final Year Project due to being busy at work last weekend and not having a chance to catch up on the blog during the week because of cracking on with my work so that I can show off my finished high poly pieces all together! I think that makes sense.

Week 4
I’m happy to say that my Stormtrooper is more or less done! At least in terms of highpoly modelling. Last week I was crack on with finishing the Trooper’s legs off and completed the helmet within 3 or 4 days. Before committing to creating the low poly parts for my Stormtrooper  might have to do some tiny tweaks to get it to the best I can before the unwrapping, texturing and skinning & rigging can begin! I know I’d like to add some detailing to the body underneath the armour but I think I’d like to focus on getting Vader’s assets completed first before thinking about sculpting anything on my Stromtrooper otherwise I could be cutting time short on my Vader model which will be more or less the center piece to my diorama. I’ll write down anything I’d like to add or change to the Troopers for a future date IF I have the time to do those tweaks and adjustments.

To help me with modelling the helmet I had real world reference of a Stormtrooper helmet, my Dad has a replica helmet by Master Replicas and I was allowed to borrow it for my project so thanks for that Dad! The helmet isn’t bang on screen accurate but it was a nice point of reference for seeing how parts of the helmet flowed and how it rests on a persons’ head.
To get it looking more screen accurate I used some images of helmets I found online and from the 501st’s CRLs.

master-replicas-ce-budget-stormtrooper-helmet.jpg

(Not my Dad’s but this is how the MR helmet looks like!)

Here’s some screenshots of the model in 3ds Max of the highpoly model. This model does have turbosmoothing on the armour so some of the geometry might not be incredibly clean but it can be changed if it is too messy.
I will admit when looking at the wireframes for the highpoly models it does seem a bit overkill in some places but this is slightly because of when using turbosmooth a lot of supporting edges are needed to keep crisp lines and also because a lot of the detail from the highpolys are going to be baked onto the lows.

From now on my main focus will be working on one of the most (if not the most) iconic villain in cinema history, Darth Vader. I just I hope I can do the character justice, no pressure.

Jir_Vader.png


Week 5

This week I’ve been working on modelling Darth Vader’s Lightsaber and his life support boxes on his belt and chest so by doing the boxes I’m ahead of myself already which is a pretty nice place to be! Before starting the project I did have practice modelling these assets so I knew what to expect when going into it. With modelling those assets a little differently during my practice run I couldn’t re-use most of the models and I modelled the Empire Strikes Back versions of Vader’s stuff not the A New Hope versions so most of the pieces needed redoing anyways.

I started off with the Lightsaber and modelled it into separate pieces to make the modelling easier and so that any supporting edges I have to put in don’t run through the entire model when using turbosmooth.
Luckily I’ve got a replica of Darth Vader’s Lightsaber by Master Replicas as well so I could use this as a good point of reference for modelling.
By using this as reference my model won’t be 100% screen accurate because of the lightsaber’s clamp being simplified so that it can house electronics. I personally don’t mind this because if the lightsaber is going to be hanging from Vader’s belt in the diorama and with it being small it won’t be noticeable. I don’t think people would even know anyway so that works in my favour.

Here’s how the highpoly model of the lightsaber looks like!
The last image is kind of like a super massive black hole, but don’t worry that is definitely going to be cut down a ton.


And here’s the chest box, belt boxes and the belt buckle (accidentally forgot to mention I modelled that too, whoops). These are highpoly models too with, you guessed it, turbosmooths.

The Imperial Boarding Party – Week 3 (Building a Stormtrooper – Part 2)

So we’re into Week 3 of our FYP projects and this week I have been continuing on my Stormtrooper model. Unfortunately I do have to say that I wasn’t able to get as much done as I would’ve liked during the week but with an extra day I should be able to complete the final pieces I wanted done this week due to being a little busy over the week and needing to go to work this weekend.
So what did I manage to get done this week? Good question!

This week I managed to:

  • Complete the abdomen plate and cod piece of the trooper.
  • Adjust the torso, back and butt plates to accommodate the abdomen armour.
  • Model the straps that connect the front and back pieces of armour together.
  • Model a neck seal/gorget.
  • Fix the belt onto the Stormtrooper so that it bends around the waist instead of it being straight like the previous week.
  • Model shoes
  • Model the hand guards
  • Model all of the Stormtrooper’s arm armour (Shoulder bells, bicep and forearm)
  • Model the shin and calf armour

I still need to model the top section of the legs and the sniper guard for the left knee to complete the stuff I wanted done for this week, once they’re done though I can move onto creating the helmet.

Here’s some screenshots of the work I done this week, enjoy!

The Imperial Boarding Party – Week 2 (Building a Stormtrooper)

Week 2 of my Final Year Project has been going pretty well! I got some nice and assuring feedback on my E-11 Blaster during the practical session on the Monday which was nice to hear because I now know that I’m going in the right direction and that I’m doing well with my progress. Some minor tweaks needed to be made to small parts of my blaster to help further cut down polygons in the model which originally sat over 1.4 million polys in the high poly model and now stands around 26,500.

Blog1.png

This week though I’ve mainly been focusing on modelling my Stormtrooper for the diorama.
The Stormtrooper

For the Stormtrooper so far I’ve mainly been focusing on doing his armour this week focusing torso, butt and crotch as well as the holster for the trooper’s blaster.
During the week I have modelled the front section of the Belt, the Thermal Detonator, the “Posterior” Armour, Kidney Armour,  E-11 Blaster Holster and have the Chest and Abdomen armour pieces as works in progress. Every piece of armour, the detonator and holster all have a high and low poly variant which I’ll show during my practical session tomorrow for some feedback plus ask for some feedback on my work in progress pieces of armour. I’ve been using a default Male mesh from Autodesk’s Mudbox as a mannequin for the armour and to save on some time I’ll probably use this mesh as a base for the undersuit of the Stormtrooper and sculpt on top of it to simulate the cloth undersuit and straps which hold the trooper’s armour together.

Pieces that still require to be modelled so far are:
The Legs and Shoes
The Arms and Gloves
The Helmet and neck seal

Once the WIP pieces are complete I will move on to finishing the body armour first and then move on to modelling the Stormtroopers’ helmet. Once all of that is done it’ll be getting unwrapped, baked and textured followed either by rigging or I’ll move straight onto Darth Vader and skin and rig both characters together (not literally together but after the modelling is complete).

Here’s some screenshots of the progress and models so far!


The Imperial Boarding Party – Week 1

This week I’ve been busy finishing the high poly model of the Stormtrooper’s E-11 Blaster for my diorama scene for my Final Year Project, making a Gantt Chart to keep track of my progress as well as making a low poly variant of the Blaster so that I can bake my high poly to my low poly asset.

First Hand-In Complete!
This Friday (10th Feb) was our first hand-in for our FYP which was based around our proposal for the project, I didn’t really need to alter mine too much after going over it in the practical sessions with my supervisor but I put in some screenshots of the Gantt Chart I made and also tweaked an existing asset list I made so that I an asset list for both of the scene ideas I mentioned in my first post here on my blog and in my proposal. I managed to get that handed in during Friday afternoon, which was quite nice to do instead of rushing to get it done.

The Blaster
On Thursday this week I managed to complete my high poly E-11 (which I done a blog post about, scroll down to find out what I had to say about it!) and today I managed to get the low poly version of it complete also! I was hoping to have got the high poly bake and UV unwrap done by the end of this week too but unfortunately with being busy at home I wasn’t able to so I might have to either spend one or two more days on the Blaster to get it done or move onto modelling the armour and come back to the bakes and unwraps when I do the Stormtrooper’s armour. I’ll probably speak about it to my supervisor in my practical session on Monday morning.
Here’s some screenshots comparing the high and low poly models of the blaster!
Though some parts of the blaster couldn’t be reduced in polys due to having Booleans applied to the mesh.

Shadedhl-e11-1

Wireframe Perspectivehl-e11-2

Wireframe Tophl-e11-3

Wireframe Backhl-e11-4

Asset List: asset-list-scene-1
Gantt Chart: gantt-chart
Finished Proposal: p4111309_justin_grace_fyp-proposal


Booleans and the High Poly E-11

Yesterday I’ve managed to get the Highpoly model of the Stormtroopers’ E-11 Blaster completed which I’m fairly happy with. I’ve tried to get it as accurate as I could to the prop but had to make some compromises due to time or problems I’ve encountered when modelling the blaster.

The right hand side of the E-11e11-2

The left hand side of the E-11e11-1

Firstly with the compromises is the folding stock on the bottom of the blaster. The front grip is meant to be hollow and have cutouts towards the end of the grip, with the geometry however and when using the shell modifier in 3DS Max it was causing unpleasant and unwanted results so I left it as a single full piece instead.

The blaster is also meant to have holes running along the barrel (?) of the gun, I experimented with different variations of using booleans but they just ended up causing a lot of shading issues when using smoothing groups and just ended up adding a load of unneeded geometry which resulted in a cluttered and messy model.

Here’s some screenshots of the methods I used and the results they produced.

This slideshow requires JavaScript.

I have used booleans in my model however for some cutouts for the weapons’ cocking mechanism and for the round ejector plus for a hole at the front of the barrel due to them being vital pieces to the look of the blaster.
I’ve decided that I will probably create normals for the holes in the blaster within Quixel Suite due to the majority of them being covered by the grips along the front of the gun, this helps reduce poly count and can nicely fake the detailing and give the illusion of holes being there.
Sw084-c.png

Now I have to create a low poly variant so that I can produced some highpoly bakes for the E-11, after they have been produced I can go to the unwrapping and texturing stage for this weapon. Modelling for the Stormtrooper can also begin once the low poly model is complete.
I’ll be making a re-cap of my week’s progress this weekend going over any alterations, problems or work I’ve done in the next few days. Stay tuned!RS-Stormtrooper-3.png

The Imperial Boarding Party – Week 0

The Beginning of the End… of Uni
So the first week back at Uni has passed and during the first Practical Session of the module I got my project idea approved and was able to crack on with some modelling more or less right off the bat, very nice!
My supervisor looked at my proposal which I worked on during the holiday break and didn’t seem to have any problem with it apart from the theme of Star Wars partly in jest (I think) and due to it being a well known IP, he was pleased though that I was nicely ahead already with having a completed pitch, an asset list and project plan as well as already having a reference library. During our one to one I was advised to take time with my texturing and to make sure that I include PBR and focus on making sure that my materials look like that used in the costumes, props and sets used within the Star Wars films.
After the chat with my supervisor he instructed me to start doing a blog including my initial pitch and to not mess up project after hearing my pitch, I’ll definitely try not to!

Week 0 – Progress so far
During the starting week (technically the first but officially not the first week of production on our projects) I’ve been working on the high poly model of the Imperial Stormtrooper’s blaster, the E-11. Here I’ve been using 3DS Max to do the modelling and have been using a lot of reference material to try and get the proportions and shape correct to the blaster prop used within the original Star Wars film, A New Hope. Unfortunately during this time I ended up getting the flu and due to not feeling incredibly well I couldn’t do work for about 2 days which was a right bummer and not really the best start to the project hopefully though I won’t get ill again during the period I have to work on the project.
Modelling has been going well for the blaster however there are some parts which I am not too sure how I should go about modelling, with the prop used in the film the blaster has a grilled like muzzle/barrel which is full of holes going from the front of the rail for the scope to the front of the blaster, when trying booleans it leaves a rather messy looking mesh and it causes the smoothing groups to not work properly causing a rough looking model, I think it’d be best to talk to the supervisor for some feedback and perhaps a better way/method of going about these holes. Other than that the blaster is going well and the highpoly is nearing completion although if I didn’t have those 2 days off the model probably would have been completed by the time of this blog post. Damn flu!

On another note for my project I gave myself the choice of 2 scenes from A New Hope I could model for my project, the first scene being smaller with 2 characters (Darth Vader and some Stormtroopers) going down the corridor of the Tantive IV after the Stormies killed the Rebels trying to stop the Imperials from boarding their Ship or Scene 2 being where Darth Vader is interrogating a Rebel Soldier about the whereabouts of the transmissions the ship received which contain the stolen Death Star Plans this scene contained 3 characters and the environment was also a little bigger, and with some extra pipelines getting involved due to character with exposed skin and a visible face was nearing the edge of perhaps over ambition giving the timeframe.
I have decided however that I will be going with Scene 1 because if needs be it gives me extra time to work on the characters and the environment for the project and also saves me needing to learn facial rigging (which I believe could take a long time to get right) and Sub Surface Scattering for the skin that Scene 1 would be a more sensible option. By going with Scene 1 I can have 4 weeks for both characters and the environment and keep 2 weeks spare for polish and putting everything together in a scene in Unreal or I could have 5 weeks per character and 3 for the environment while keeping those last 2 weeks for polish. If I went with Scene 2 that’d give me 3 weeks per character (3 in this case) and 3 weeks for the environment with 2 weeks for polish. I’d have no headroom if I required it and I wouldn’t be able to get rid of my 2 weeks of polishing and compositing time, so I think that Scene 1 is my best bet going forward.

Pitch Word Document:  fyp-pitch

Pitch Asset List: asset-list

Pitch Project Plan: fyp-project-plan