
This weekend’s blog post is going to be a double whammy of weeks 4 and 5 of my Final Year Project due to being busy at work last weekend and not having a chance to catch up on the blog during the week because of cracking on with my work so that I can show off my finished high poly pieces all together! I think that makes sense.
Week 4
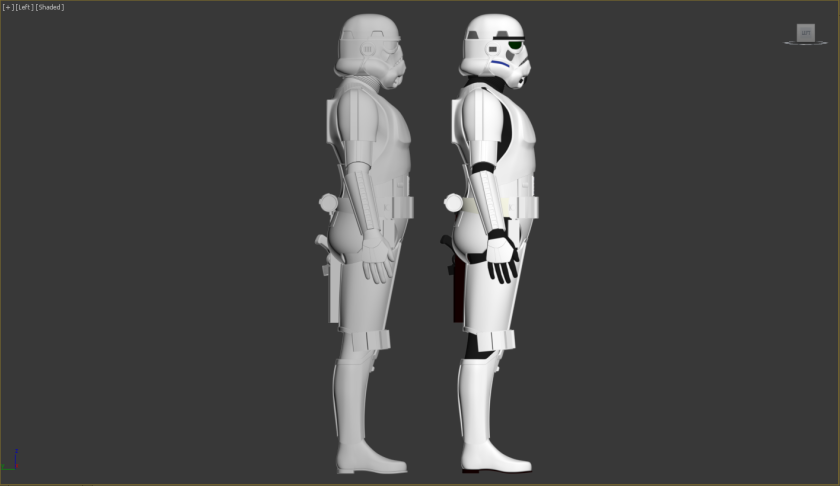
I’m happy to say that my Stormtrooper is more or less done! At least in terms of highpoly modelling. Last week I was crack on with finishing the Trooper’s legs off and completed the helmet within 3 or 4 days. Before committing to creating the low poly parts for my Stormtrooper might have to do some tiny tweaks to get it to the best I can before the unwrapping, texturing and skinning & rigging can begin! I know I’d like to add some detailing to the body underneath the armour but I think I’d like to focus on getting Vader’s assets completed first before thinking about sculpting anything on my Stromtrooper otherwise I could be cutting time short on my Vader model which will be more or less the center piece to my diorama. I’ll write down anything I’d like to add or change to the Troopers for a future date IF I have the time to do those tweaks and adjustments.
To help me with modelling the helmet I had real world reference of a Stormtrooper helmet, my Dad has a replica helmet by Master Replicas and I was allowed to borrow it for my project so thanks for that Dad! The helmet isn’t bang on screen accurate but it was a nice point of reference for seeing how parts of the helmet flowed and how it rests on a persons’ head.
To get it looking more screen accurate I used some images of helmets I found online and from the 501st’s CRLs.
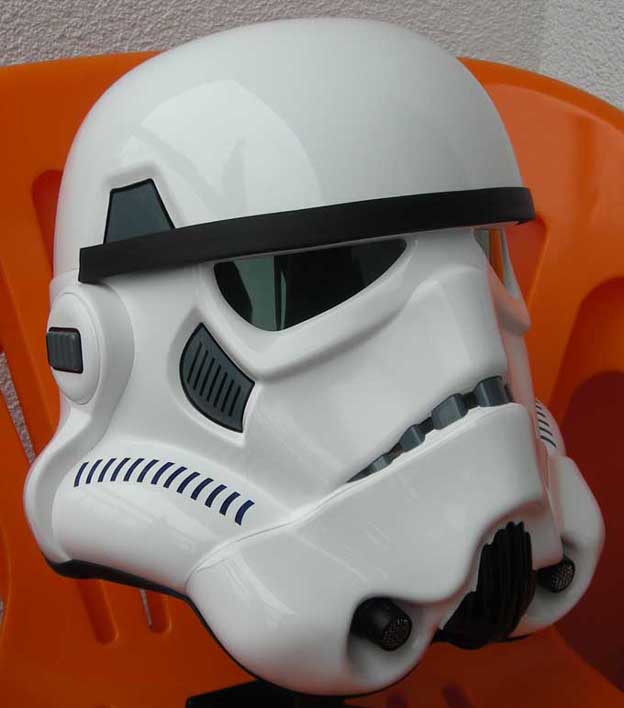
(Not my Dad’s but this is how the MR helmet looks like!)
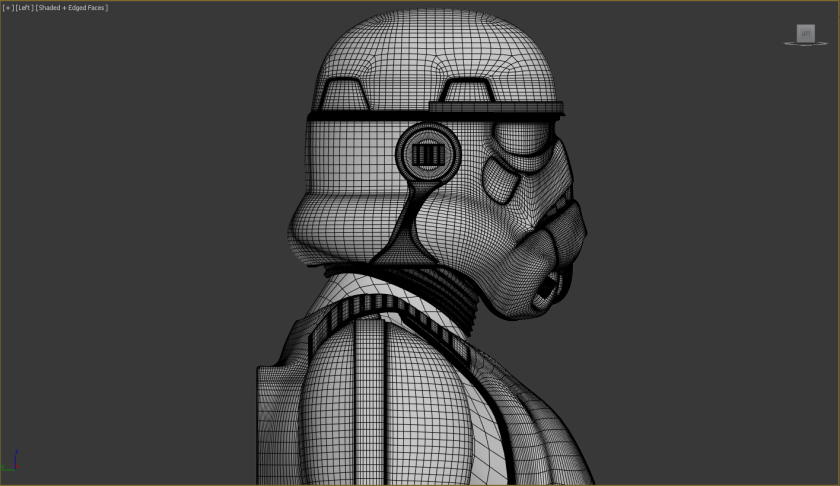
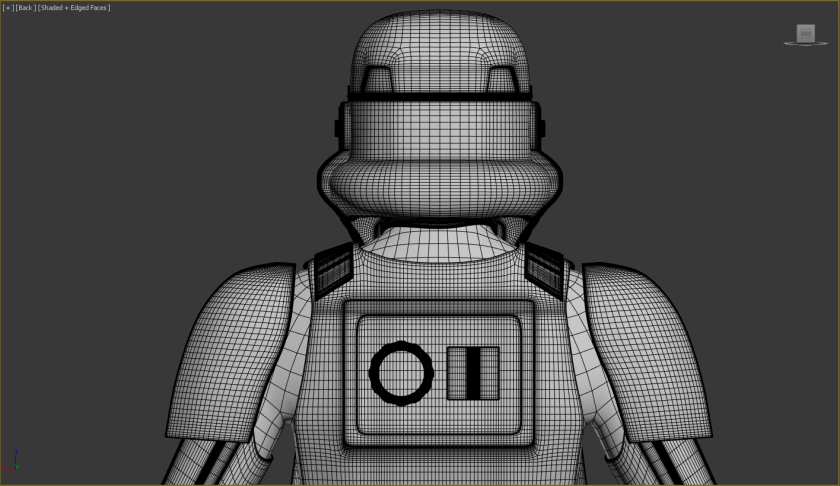
Here’s some screenshots of the model in 3ds Max of the highpoly model. This model does have turbosmoothing on the armour so some of the geometry might not be incredibly clean but it can be changed if it is too messy.
I will admit when looking at the wireframes for the highpoly models it does seem a bit overkill in some places but this is slightly because of when using turbosmooth a lot of supporting edges are needed to keep crisp lines and also because a lot of the detail from the highpolys are going to be baked onto the lows.


From now on my main focus will be working on one of the most (if not the most) iconic villain in cinema history, Darth Vader. I just I hope I can do the character justice, no pressure.

Week 5
This week I’ve been working on modelling Darth Vader’s Lightsaber and his life support boxes on his belt and chest so by doing the boxes I’m ahead of myself already which is a pretty nice place to be! Before starting the project I did have practice modelling these assets so I knew what to expect when going into it. With modelling those assets a little differently during my practice run I couldn’t re-use most of the models and I modelled the Empire Strikes Back versions of Vader’s stuff not the A New Hope versions so most of the pieces needed redoing anyways.
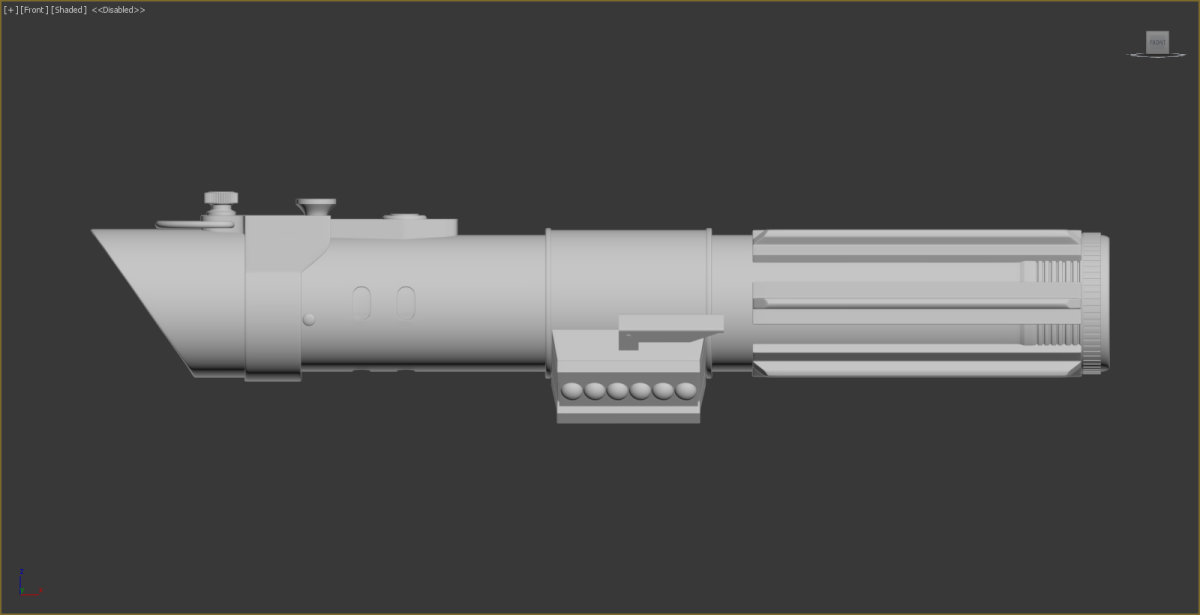
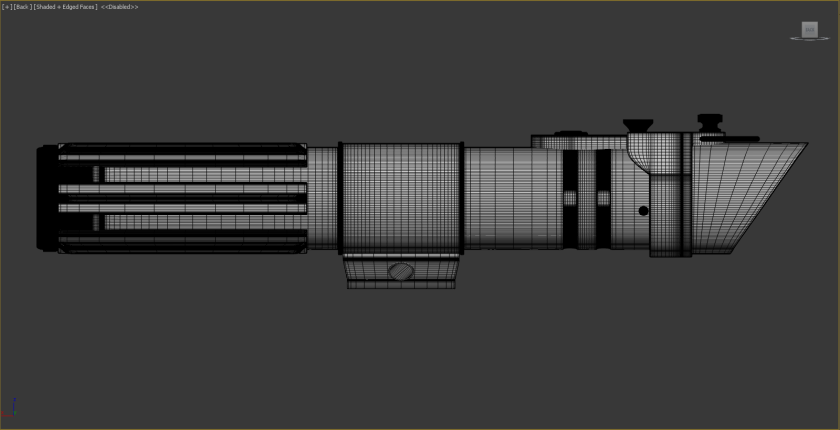
I started off with the Lightsaber and modelled it into separate pieces to make the modelling easier and so that any supporting edges I have to put in don’t run through the entire model when using turbosmooth.
Luckily I’ve got a replica of Darth Vader’s Lightsaber by Master Replicas as well so I could use this as a good point of reference for modelling.
By using this as reference my model won’t be 100% screen accurate because of the lightsaber’s clamp being simplified so that it can house electronics. I personally don’t mind this because if the lightsaber is going to be hanging from Vader’s belt in the diorama and with it being small it won’t be noticeable. I don’t think people would even know anyway so that works in my favour.
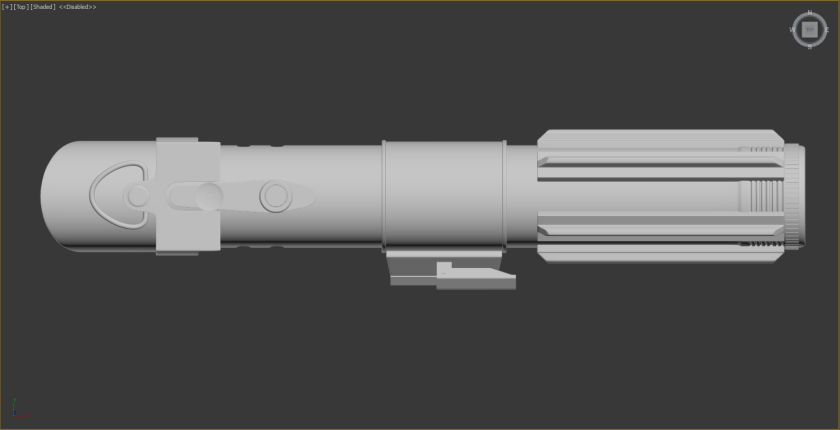
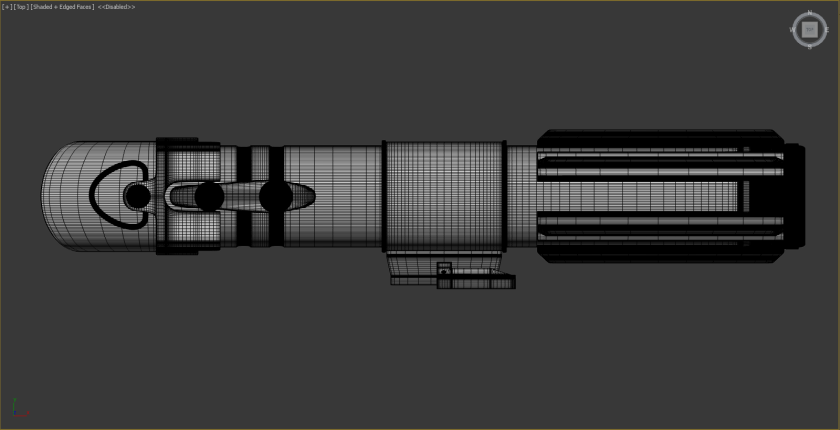
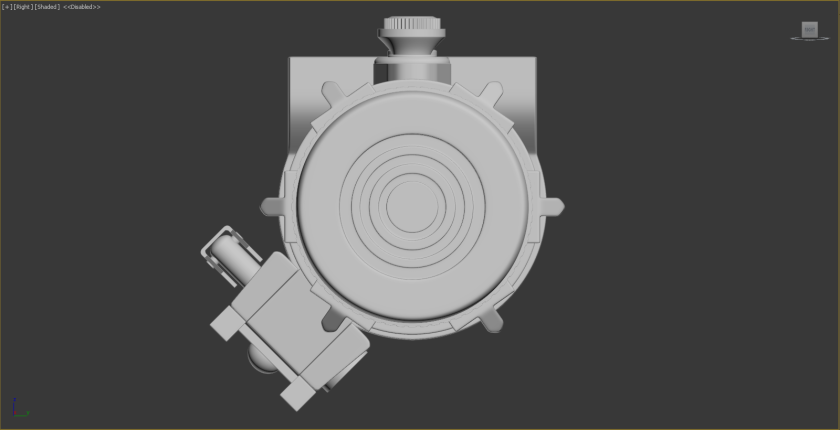
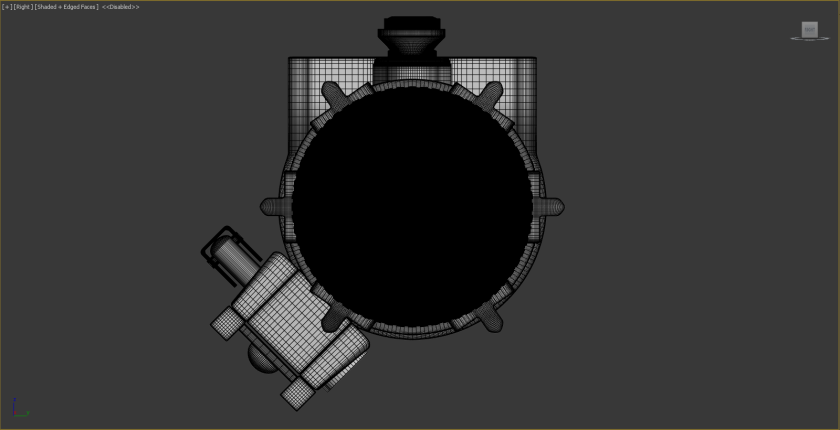
Here’s how the highpoly model of the lightsaber looks like!
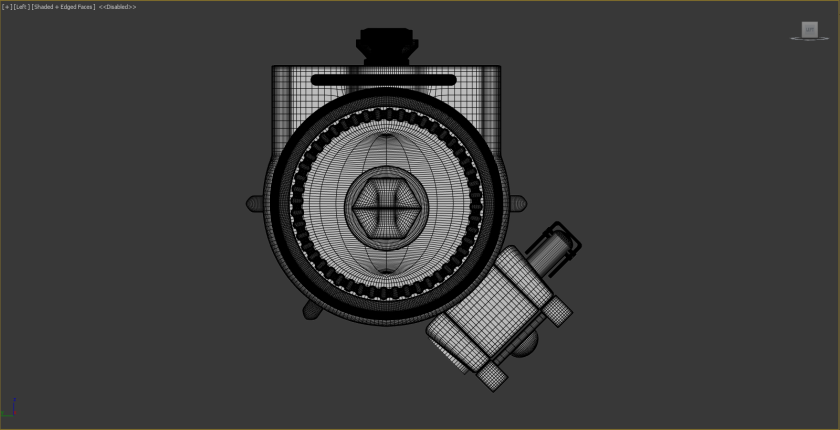
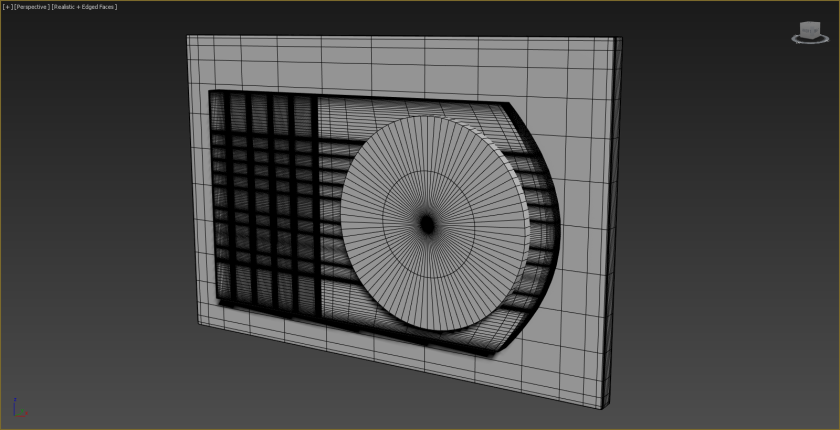
The last image is kind of like a super massive black hole, but don’t worry that is definitely going to be cut down a ton.


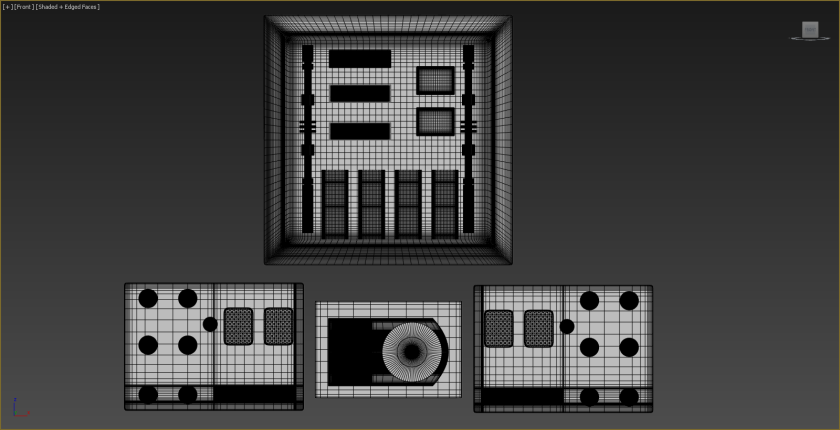
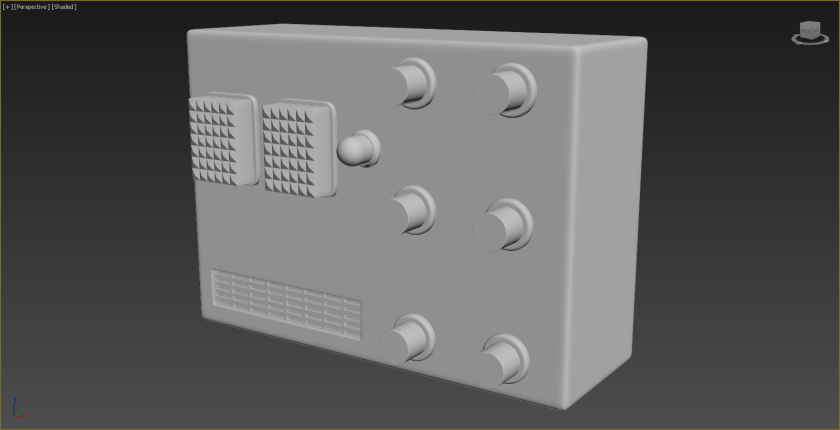
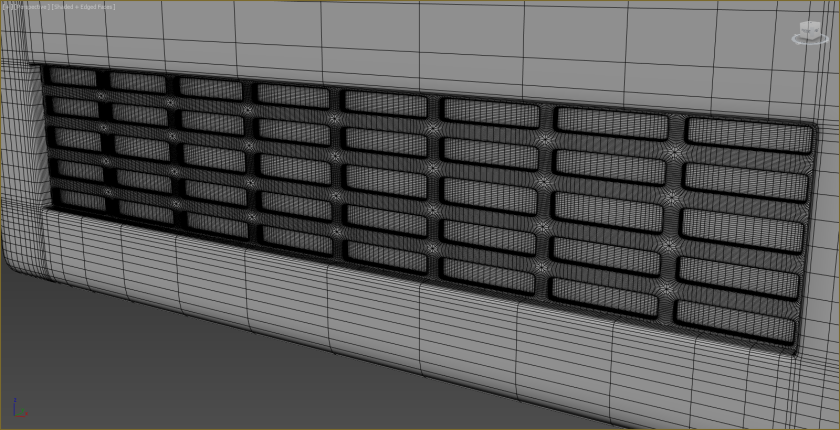
And here’s the chest box, belt boxes and the belt buckle (accidentally forgot to mention I modelled that too, whoops). These are highpoly models too with, you guessed it, turbosmooths.


This project has demonstrated a full range of mature and professional administration and skillset. The Progress Review was effectively communicated via the verbal and visual presentation. However the only area where project could have been more impactful is the area of “creative and original thinking”. However the execution of the project is well done! Mark – 95
LikeLike